In this post I will summarize most common laptop hardware related problems ever mentioned on this site.
I will not be digging into the operating system related problems, only laptop hardware issues.
I’ll provide most common laptop failure descriptions and give some suggestions how to troubleshoot or repair the problem.
Problem 1.
Laptop doesn’t turn on at all.
Problem description: When you plug the AC adapter into the laptop, there are no lights turning on at all. When you push on the power button, nothing happens. The laptop appears to be completely dead, makes no sounds, no indications of life.
Possible problem:
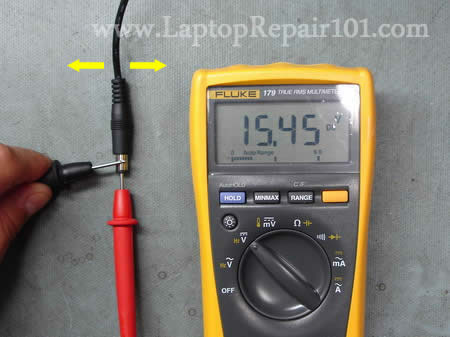
- AC adapter failed and the battery discharged completely. First of all, test the AC adapter. If it’s dead, replace the adapter.
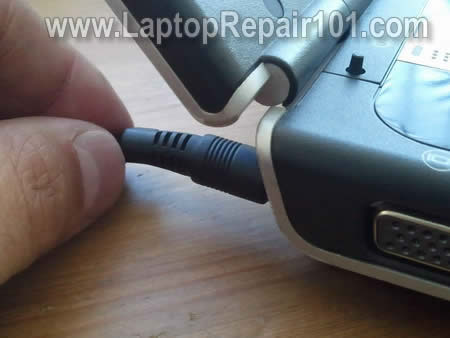
- DC jack separated from the motherboard (or DC jack broken) and the laptop doesn’t get any power from the AC adapter. In this case the DC jack has to be replaced.
- Laptop motherboard failed. If that’s the case, most likely the laptop not worth fixing.
Problem 2.
Laptop turns on but screen is blank.
Problem description: The laptop turns on, LED lights on the laptop turn on, cooling fan works but nothing appears on the screen. The screen is completely black and blank. There is no image on the screen at all, not even a very dim image.
Possible problem:
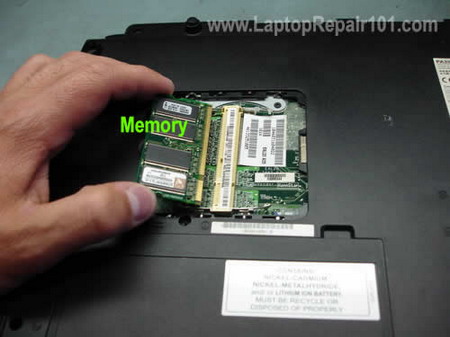
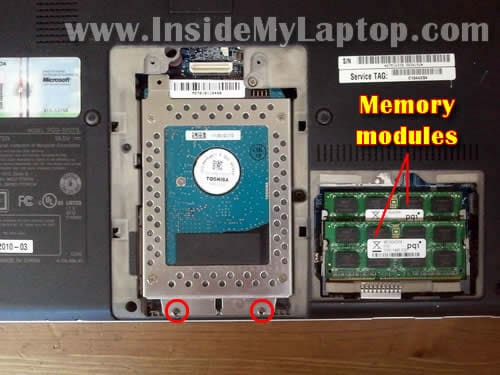
- This problem could be related to the memory failure. It’s possible one of the memory modules failed and the laptop doesn’t turn on because of that. In this case you can try reseating memory modules to make sure they are making good contact with the slot. You can try removing memory modules one by one and test the laptop with only one memory module installed. You can try replacing memory modules with new modules.
- If reseating/replacing memory modules doesn’t help, try removing the hard drive, DVD drive, modem, wireless card, keyboard, etc… In other words, disassemble the laptop to bare minimum and test again. If the laptop still doesn’t turn on, most likely you have failed motherboard or processor.
Problem 3.
Laptop turns on and off repeatedly.
Problem description:The laptop turn on without showing any image on the screen. After a few seconds the laptop turns off by itself. Then it turns on and off again. It continue turning on and off repeatedly until you power off the laptop completely.
Possible problem:
Most likely it happens because of some kind of motherboard failure. You can try reseating/replacing memory as I described in the Problem 2. If it doesn’t help, I would say this is motherboard related failure.
In most cases it’s not worth replacing the motherboard, better to buy a new laptop.
Problem 4.
Laptop makes noise while running.
Problem description:
The laptop turns on and everything works fine, except it makes some constant weird grinding or rattling noises. Some laptops make noises all the time, other laptops have them intermittently.
Possible problem:
In most cases this noise is coming from the cooling fan or laptop hard drive. You can turn on the laptop, wait until it starts making noise and after that listen closely on the bottom of the laptop. If the laptop starts making noise when the cooling fan starts running, most likely you have a failing fan. Replace the cooling fan.
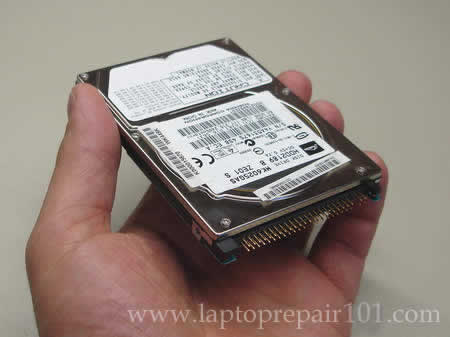
If the laptop makes noise even when the fan not spinning, probably it’s coming from the hard drive. Back up all personal data from the hard drive as soon as possible, it can fail any moment. Replace the hard drive.
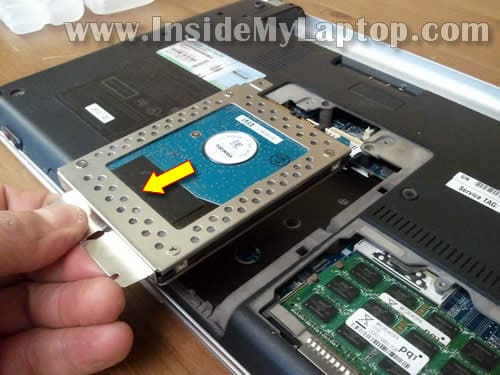
Here’s another technique to figure out if the noise coming from the fan or hard drive. Remove the hard drive from the laptop and stat the laptop. Wait until it warms up and the fan starts spinning. If the laptop still makes same noise even when the hard drive removed, most likely it’s bad fan.
Problem 5.
Laptop shuts down or freezes while in use.
Problem description:
The laptop turns on and runs properly but after a while it freezes or shuts down without any warning. When it happens, the laptop feels hot on the bottom. Also, the cooling fan works harder than usual.
Possible problem:
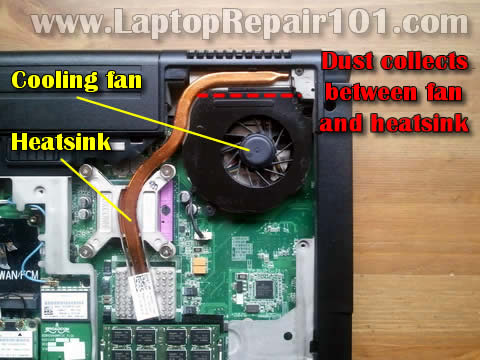
Most likely this is heat related issue. It happens because the cooling module gets clogged with dust and the laptop cannot “breath” properly. The laptop shuts down or freezes because the processor (CPU) overheats. Cleaning the cooling fan and heatsink should fix the problem.
Problem 6.
Laptop battery not charging properly.
Problem description:
The laptop battery stopped charging properly. It’s not charging at all or charges only after you adjust the position of AC adapter plug inside the power connector on the laptop.
Possible problem:
- Failed battery. If the battery stopped charging completely try reconnecting the battery first. If it doesn’t help, remove the battery and try running the laptop just from AC adapter. If the laptop runs fine from AC adapter but doesn’t charge the battery at all, most likely it’s either bad battery or motherboard problem. Try replacing the battery first.
- Loose DC power connector. If the battery charges only after you adjust the position of AC adapter tip inside the connector, this is DC jack related problem.
Problem 7.
Screen light doesn’t work or fails while the laptop running.
Problem description:
The laptop starts properly but after a while the screen light turns off. The image still appears on the screen but it’s very dark. In some cases the screen light never starts but you still can see a very faint image on the screen. In all cases the laptop video appears to be fine on the external monitor or TV.
Possible problem:
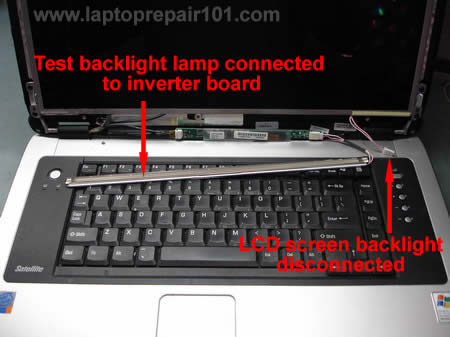
Most likely it’s either the screen inverter or screen backlight lamp (CCFL) failure. Both fail very similarly causing the screen light to go off. In order to trobuleshoot this kind of failure effectively, you’ll need some spare parts: either new working inverter or known good backlight lamp.
Problem 8.
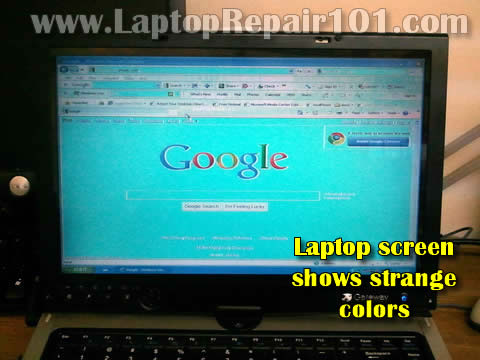
Laptop has strange or garbled image on the screen.
Problem description:
The laptop turns on properly but shows bad, wrong or garbled image on the screen.
Possible problem:
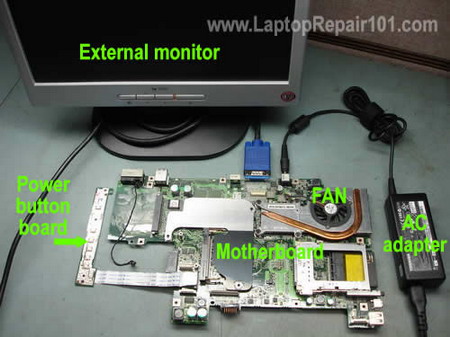
- Graphics card failure. First of all, test your laptop with image output on the external monitor. If you see the same problem on the external screen, most likely this is graphics card related failure.
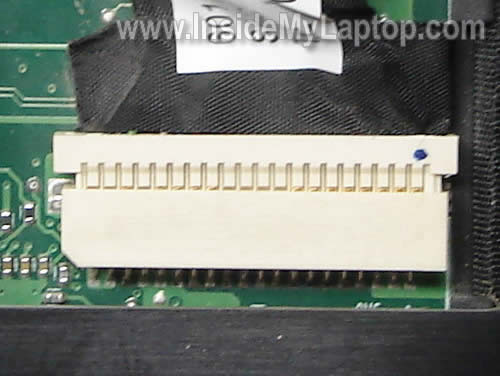
- If the problem appears only on the laptop screen, it could be related to one of the following: poor connection between the video cable and motherboard or LCD screen or failed video cable or failed LCD screen.
Problem 9.
Some laptop keyboard keys stopped working.
Problem description:
The laptop turns on and runs properly but some keyboard keys do not work at all or type wrong characters.
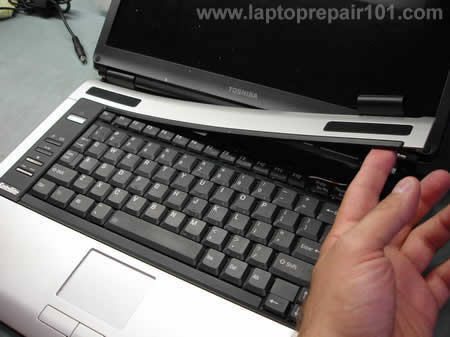
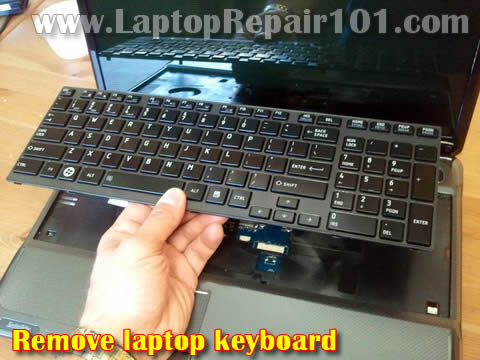
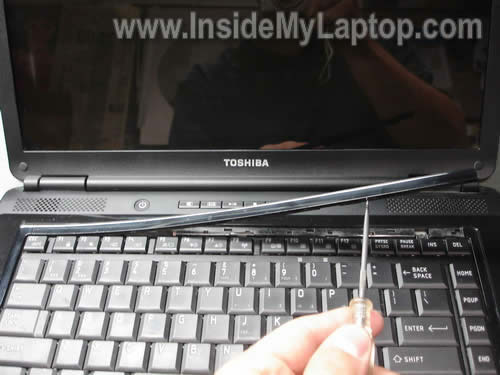
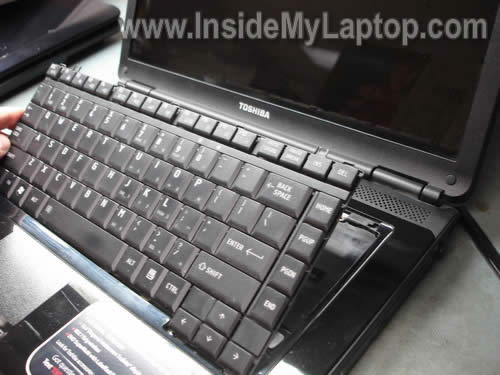
Possible problem:Most likely this the keyboard failed. Laptop keyboards are not repairable. If some keys stopped working, you’ll have to
replace the keyboard.
Problem 10.
Missing or broken keys on laptop keyboard.
Problem description:
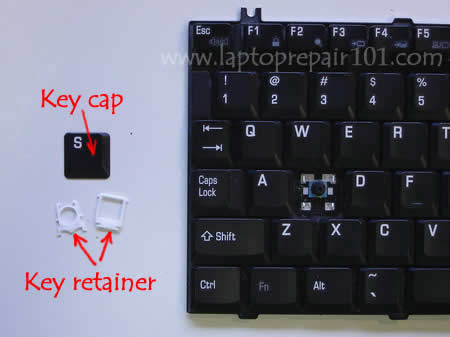
A key got separated from the laptop keyboard.
Problem solution:
If a key got separated from the keyboard, it’s still possible to fix it without replacing the entire keyboard.
Hopefully you didn’t damage the key hinges.
If you have many keys missing, probably it makes sense to replace the whole keyboard.
Problem 11.
Laptop makes repetitive beep sound on startup.
Problem description:
You turn on the laptop but there is no video on the screen. Instead, the laptop makes repetitive beeping sound. You can “fix” the problem if you press on the keyboard keys.
Problem solution:Most likely it happens because there is a stuck key on the keyboard. In this case you’ll have to
replace the keyboard.
Problem 12.
Liquid spilled on laptop.
Problem description:
You spilled something on the laptop and it’s stopped working.
Problem solution:
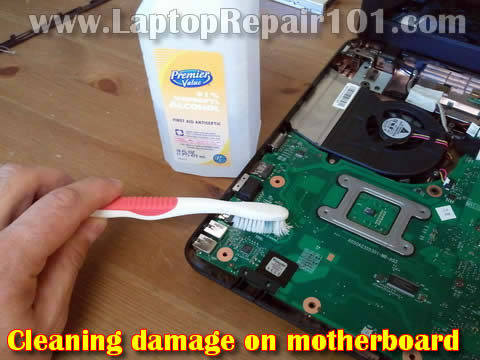
Liquid spills are very dangerous and unpredictable. If it happened, turn off the laptop ASAP, remove the battery and do not use it until all internal parts are inspected for liquid damage.
It’s sill possible the laptop will work again after you clean the damage.


